Apple ProRAW gives you gorgeous, flexible files, and then leaves you wondering what to actually do with them. They look flat straight out of the camera, on purpose, because they are meant to be edited. Here is the plain-English version and the simplest workflow.
What ProRAW is, and why it matters
A normal iPhone photo is already baked: the phone decides the color and contrast and you are mostly stuck with it. Apple ProRAW keeps far more color and dynamic range, so you can push exposure, recover a blown sky, or completely restyle the color without the image falling apart.
The trade-offs: the files are large, and they look dull until you edit them. That flatness is not a fault, it is headroom.
Your options for editing ProRAW
- Apple Photos. The built-in sliders handle ProRAW and are fine for quick tweaks.
- Full pro editors. Powerful and deep, but they come with a learning curve and a lot of UI you may never touch.
- Apply a ready-made look. If you mostly want a consistent, good-looking result fast, you can apply a LUT or a preset and export. This is the sweet spot for most people.
The simplest workflow with RAWCraft
RAWCraft is built for exactly that last option: bring a look, apply it to your ProRAW, export.
- Shoot ProRAW: Settings, Camera, Formats, ProRAW. It needs an iPhone 12 Pro or newer.
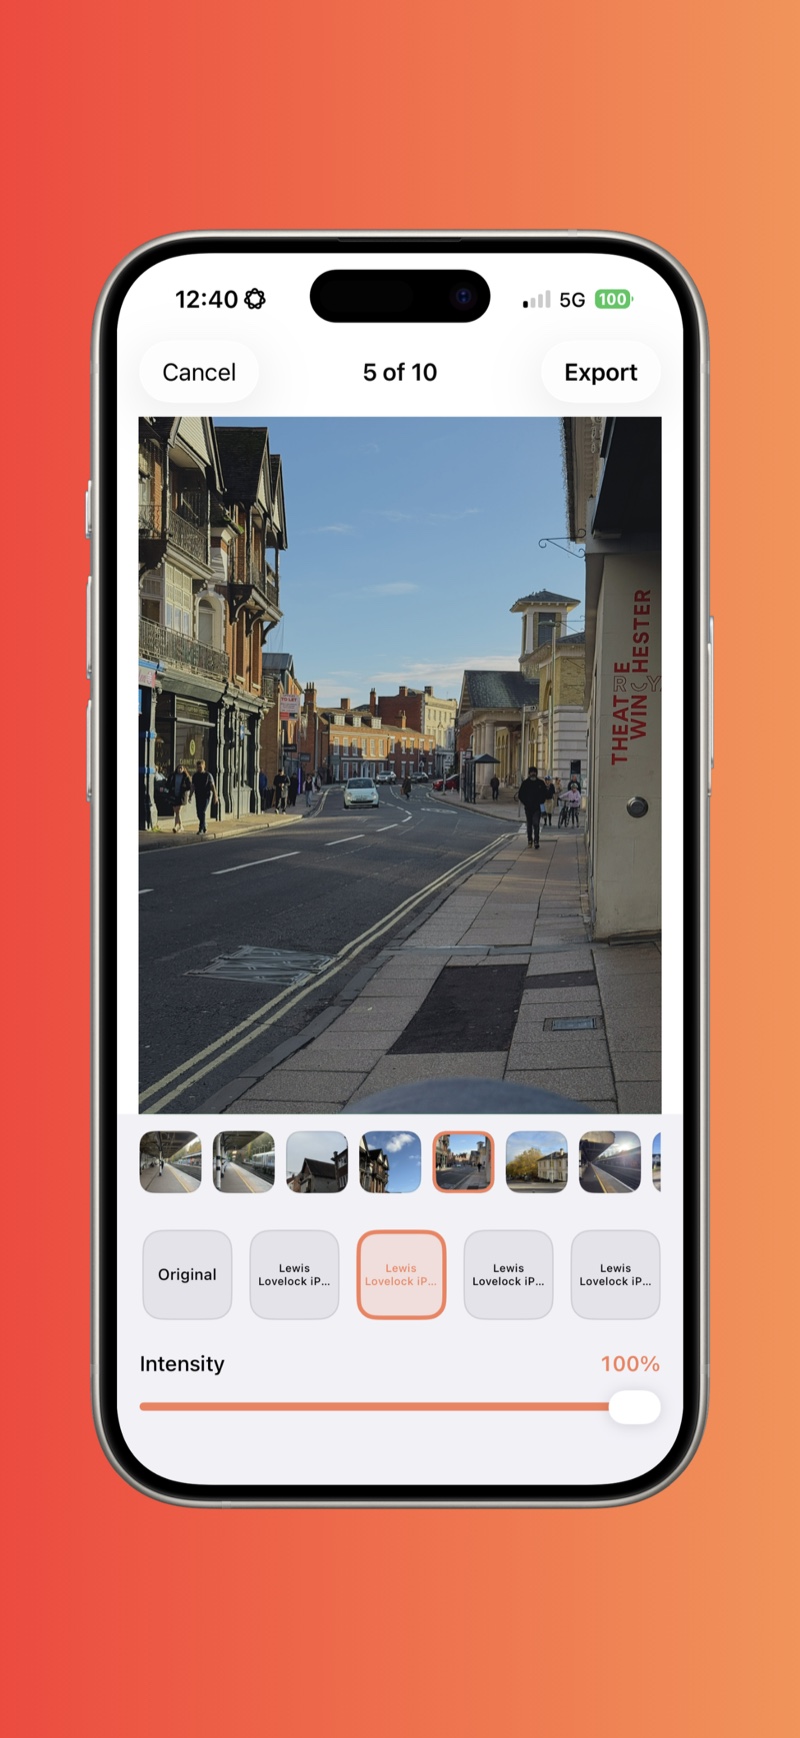
- In RAWCraft, import your
.cubeLUT or.xmppreset. - Open a ProRAW photo, tap the look, and adjust the intensity.
- Export at full quality in Display P3. Your original ProRAW is never modified.
Tips
- Export Display P3 to keep the rich color ProRAW captured.
- Keep originals. RAWCraft never overwrites your ProRAW, so you can always start again.
- Same look across a shoot? See batch applying a look.
RAWCraft is a one-time $14.99 with a free export, so you can try it on a ProRAW shot before deciding.