iPhone photos are clean to the point of feeling clinical. A little grain breaks up that smoothness and gives an image the texture we associate with film. The trick is to make it look natural, not gritty.
The film look everyone chases is not one secret setting either. It is a handful of ingredients, and grain is only one of them. Here is what those ingredients are, and the one technical fact that decides whether grain can reach your photo at all.
What actually makes a photo read as film
Five things, roughly in the order your eye notices them:
- Color character. Warm highlights, muted greens, colors that lean a particular way rather than being clinically accurate. Every film stock had a bias, and that bias is most of the look.
- Contrast character. Blacks lifted and a little faded rather than crushed, and highlights that roll off gently instead of clipping hard to white.
- Grain. A fine texture over the whole image that breaks up the digital smoothness.
- Halation. The soft red and orange bloom around bright highlights, from light scattering through the film base and reflecting back. Most people feel it without naming it.
- Consistency. Film gave you one treatment across a whole roll. A set handled the same way reads as film in a way a single photo never quite does.
The first two are pure color, which is exactly what a LUT or a preset does in one step. Grain can travel with a preset, but only a preset. Halation needs a different tool entirely.
Why grain makes a digital photo feel like film
Real film grain is the physical structure of the emulsion. It sits evenly across the frame, it is strongest in the midtones, and it is part of the image rather than something laid on top. That evenness is what your eye reads as analog. Grain also does practical work:
- It hides banding. Smooth gradients like skies and out-of-focus backgrounds can show ugly stepping after editing or compression. Grain breaks the steps up.
- It adds perceived sharpness. Fine texture reads as detail. A gently grained photo often looks crisper than the clean version, not softer.
- It unifies the frame. Grain sits over everything equally, tying skin, sky, and shadow into one surface. That cohesion is a big part of the film look.
Grain is not the same as noise
Worth being clear about, because iPhones produce plenty of noise on their own. Digital noise is an error: it clumps in the shadows, carries random red and green speckles, and gets worse the darker the scene. Film grain is even, monochrome, and intentional. Adding good grain to a clean photo looks like film. Brightening a dark photo until the noise shows does not.
So start from the cleanest file you have. A well-exposed shot, ideally ProRAW, gives the grain a smooth canvas to sit on.
Why a LUT cannot carry grain, and a preset can
This is the part almost nobody explains, and it decides which file you should be buying.
A .cube LUT is a lookup table. For a given input color it always returns the same output color, wherever that pixel sits in the frame. That is the whole design, and it is why LUTs are so portable. Grain is the opposite requirement: two neighboring pixels of identical color have to come out slightly different, or it is not grain. You cannot write "add random texture" into a table of color values. A LUT has no spatial component, so a .cube file cannot carry grain, halation, or a vignette.
A Lightroom .xmp preset is a different kind of file. It is not a color map, it is a list of instructions. Grain lives under Effects as three numbers, Amount, Size, and Roughness, saved into the .xmp alongside exposure, contrast, and the tone curve. Any app that reads the preset properly can render that grain itself.
The short version
If your look is a .cube LUT, the grain has to come from somewhere else. If it is an .xmp preset with a grain amount set, the grain is already in the file and travels with the look.
One caveat when buying: some LUT packs advertise grain but ship it as a separate overlay image you composite on top elsewhere. That is not grain inside the .cube, and it will not follow the LUT into a photo app.
The apps that do it well
- Snapseed. Google's free editor has a Grainy Film tool: pick a film style, then set the amount. Quick and decent, though the grain is tied to Snapseed's own styles rather than a look you brought.
- VSCO. The Grain tool lives in the editing tray with strength and character controls. VSCO's grain is well regarded and pairs naturally with its film-inspired filters.
- Lightroom Mobile. Under Effects you get Amount, Size, and Roughness. The most controllable of the general editors, and the same grain engine desktop Lightroom uses.
- Dedicated grain apps. GrainLab and I Love Film specialize in film-stock grain and textures. Good if grain is the whole point rather than part of a look. Some LUT apps layer halation and grain on separately too, which is the only realistic way to get halation on a phone.
There is one more route, and it is the underrated one: a preset that already carries its own grain, tuned by whoever made the look against that look's own colors and contrast.
How it works in RAWCraft
RAWCraft applies your own looks, .cube LUTs and .xmp presets, to Apple ProRAW photos. When a preset includes grain, RAWCraft reproduces it, weighted into the midtones the way film behaves, then lets you raise or lower the whole look with one intensity slider. It renders the preset's vignette, clarity, texture, dehaze, sharpening, and luminance noise reduction the same way.
- Import a film-style
.xmppreset that includes grain, since grain has to come baked into the preset itself. - Apply it to your ProRAW photo.
- Adjust the intensity to make the whole look, grain included, stronger or softer.
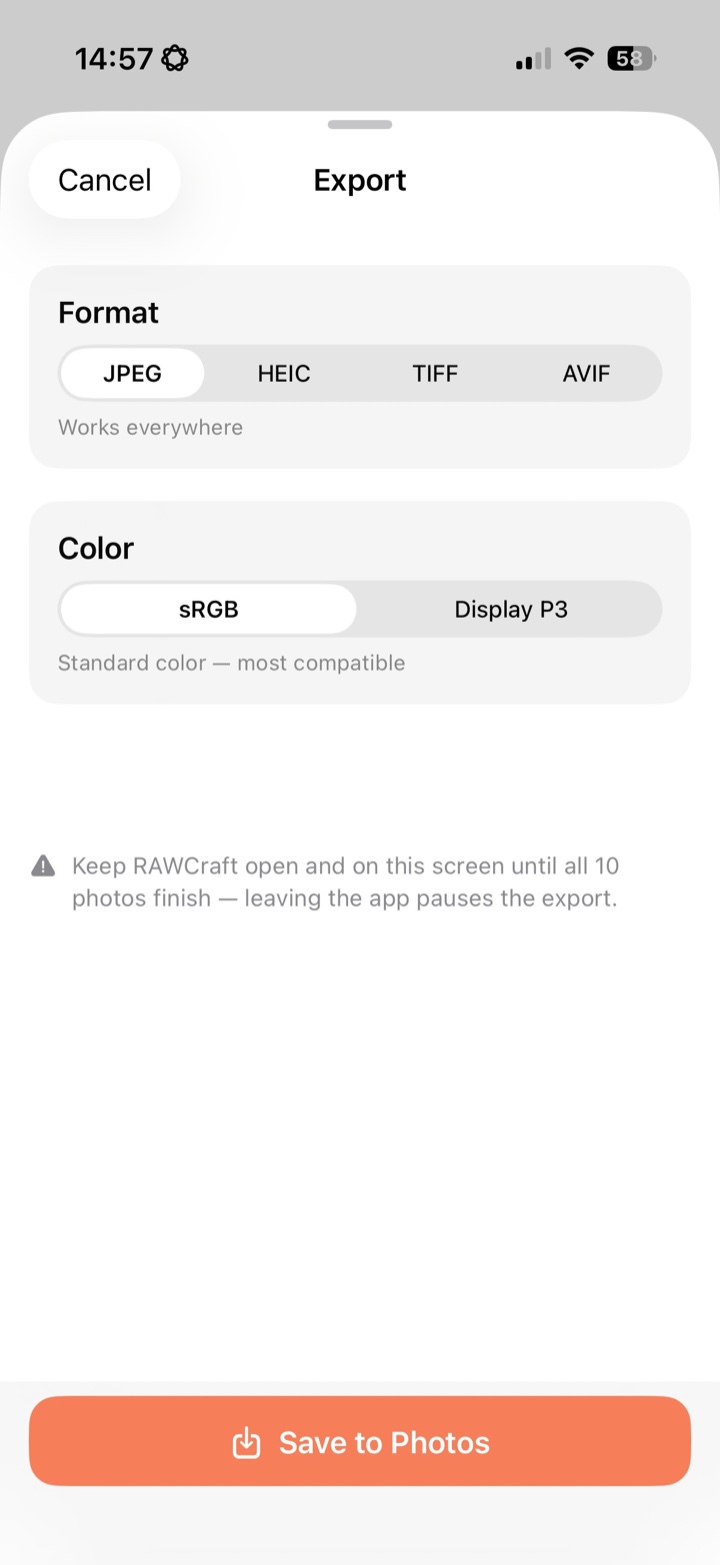
- Export at full quality. Your original file is never changed.
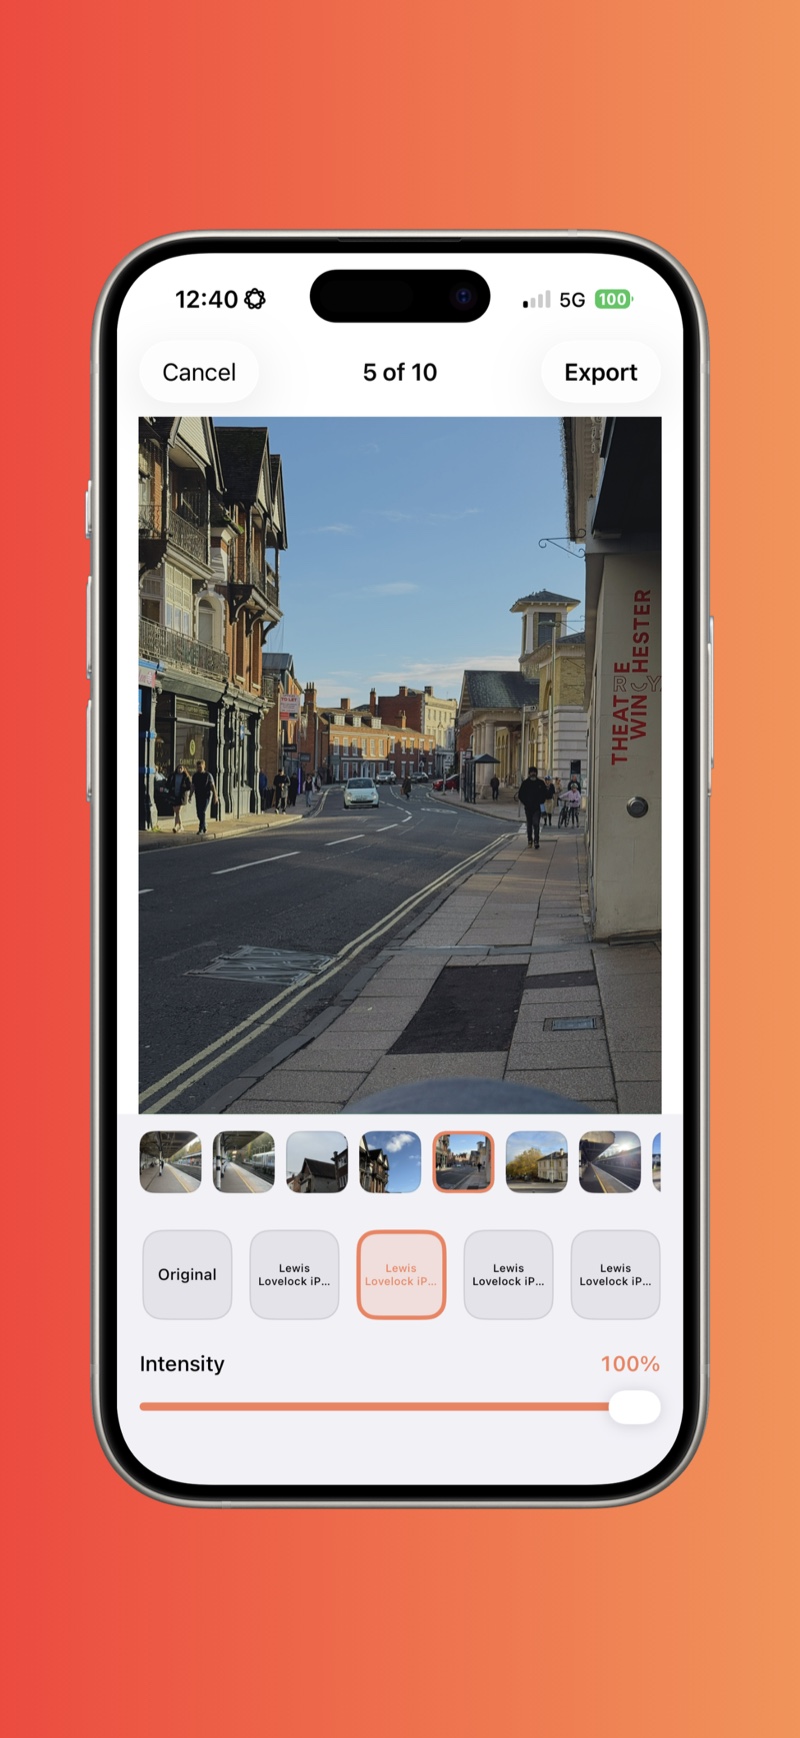
To be straight about it: RAWCraft has no grain slider of its own. It has one slider, intensity, and grain reaches a photo only by riding along inside a preset. If you want to bolt grain onto an otherwise untouched photo, one of the general editors above is the better tool.
Settings that look like film, not filter
Whatever app you use, the same rules apply:
- Amount: less than you think. Real film is subtle. Grain should be something you feel before you notice it, so if it is the first thing you see, halve it.
- Size: match your output. Grain size is relative to resolution. A 48MP photo downsized for Instagram swallows fine grain entirely, so judge it at the size people will actually see. If you post small, go slightly coarser.
- Keep it monochrome. Colored speckle reads as sensor noise. If your app has a color option for grain, keep it low or off.
- Roughness: gentle. In Lightroom terms, moderate roughness looks organic. Maximum roughness looks like sandpaper.
- Judge at viewing size. Nobody looks at your photo at pixel level. Zoom out to the whole frame, then decide.
Mistakes that give it away
- Grain on top of noise. Adding grain to an already-noisy night shot just makes mud. Denoise first, or start from a cleaner exposure.
- Grain without a look. Grain on a straight-out-of-camera photo looks odd, because the colors are still clinical. Grain is the final layer on top of the color grade, not a substitute for one.
- Treating one photo as the goal. The look lands hardest across a set. Apply the same preset to a batch, up to 30 at a time, and let the consistency do the work.
Quick answers
What does grain do to a photo? Three things. It breaks up the digital smoothness that makes iPhone photos feel clinical, it hides banding in skies and soft backgrounds, and it adds perceived sharpness, because fine texture reads as detail. It also sits over skin, sky, and shadow equally, tying the frame into one surface, which is most of why a grained photo reads as film.
Can the iPhone camera add grain while shooting? Not really. Photographic Styles and the built-in filters shift color and contrast, but the stock camera has no true grain control. Shoot clean, add grain in the edit.
Can a LUT add grain? No. A LUT maps color to color with no spatial component, so it cannot produce texture. Grain has to come from a preset that stores it, or from a separate grain tool.
Does grain reduce quality? It trades a little fine detail for texture, and viewers read that as character rather than loss. In moderation, on a full-quality export, nothing looks degraded.
Should grain go on before or after other edits? Last. Color first, grain on top, the same order film produced it.
What about halation? Neither file type gives it to you, for two different reasons. A LUT is a pure color mapping with no spatial component, so it cannot produce a bloom around highlights at all. A preset does carry spatial effects, grain and vignette among them, but halation is not one of the effects Lightroom's preset format stores, so there is nothing for an app to render. You need an app with a dedicated halation tool.
RAWCraft is a one-time $14.99 with 10 free exports so you can see how a grainy film preset lands on your own shots before paying anything.