A LUT, short for Look-Up Table, is a file that maps every color in an image to a new color, so the same saved look lands identically on any photo or any footage it is applied to. That is the whole definition. The rest is detail: what the numbers in the filename mean, why .cube is the standard, and how a LUT differs from a Lightroom preset.
Most of the confusion is that LUTs grew up in video, so what you read assumes footage and log profiles. The idea is simpler than that, and it works just as well on a photo.
A LUT is a color recipe
LUT stands for Look-Up Table. It is a file that maps every color in your image to a new color. Feed it a blue and it might hand back a slightly teal blue. Apply the same LUT to any photo and you get the same consistent shift, which is why LUTs are how films and photographers keep a steady look across a whole project.
The name is literal, and that is what makes a LUT portable: the same file gives the same result in any app that reads it.
It only changes color. A LUT never touches the content, the sharpness, or the composition of your image. It cannot crop or mask, and it cannot add film grain, because grain is texture rather than color.
1D LUTs and 3D LUTs
A 1D LUT holds three curves, one each for red, green, and blue. It can lift shadows, add contrast, or warm an image, but each channel moves in isolation, so it cannot describe how colors relate to one another. It mostly does technical work like gamma correction. A .cube file is allowed to hold a 1D table, but it is rare in the wild, and photo apps that read .cube files, RAWCraft included, expect the 3D kind.
A 3D LUT maps whole colors instead of channels, taking red, green, and blue together and returning a new trio. Because it works in three dimensions, it can do nuanced things, like desaturating reds only when they appear in the shadows. That subtlety is why .cube LUTs are the standard for creative color grading, and a .cube is what people mean when they say LUT.
What LUT size actually affects
A 3D LUT does not store every possible color. It stores a grid of sample points and interpolates the rest. The size quoted is how many points sit along each axis:
- 17 points is 4,913 stored colors, a file of roughly a hundred kilobytes.
- 33 points is 35,937 colors, a little under a megabyte, and the default for most creative looks.
- 65 points is 274,625 colors, and several megabytes of plain text.
A denser grid follows an abrupt change more closely, which matters for technical LUTs with hard clipping, where the grade turns sharply and a coarse grid rounds off the corner. On a smooth creative grade there is nothing sharp to miss, so 33 and 65 look the same on screen and the same after export.
What size does not affect is how good a look is. A pack shipping one look at 17, 33, and 65 points is offering three sample rates of one grade, not three grades. Take the 33.
The file formats you will meet
| Extension | What it is | Where you meet it |
|---|---|---|
.cube | Plain-text 3D LUT, the de facto standard | Resolve, Premiere, Photoshop, Final Cut, phone apps |
.3dl | Older integer 3D LUT format | Autodesk Lustre and Flame, broadcast pipelines |
.look | Adobe SpeedGrade file, a wrapper carrying more than a LUT | Legacy Adobe projects |
.icc | A color profile for a device, not a creative look | Printers, monitors, soft proofing |
.xmp | A Lightroom preset, which is not a LUT at all | Lightroom and Camera Raw |
Vendor formats like .csp and .vlt turn up too, and DaVinci Resolve can usually convert one to a standard .cube.
Technical LUTs, creative LUTs, and the log trap
LUTs split into two jobs, and mixing them up is the most common reason a LUT looks wrong.
Technical LUTs convert. They move an image from one color space or transfer curve to another, log footage to Rec.709 being the common one. They are named after what they convert, so you see S-Log3, V-Log, or C-Log in the filename.
Creative LUTs stylize. These are the looks: film emulations, teal and orange, bleach bypass, muted travel grades. They assume the image already looks normal.
The trap is that both arrive as .cube files and nothing inside the file announces which is which. A .cube is just a grid of numbers, with no field for what the numbers assume about the image going in. Feed a normal photo to a log conversion LUT and the result is obviously wrong: usually flat, milky, and washed out, sometimes harsh and oversaturated instead, depending which way the conversion runs. The LUT did the job it was built for, on an image that did not need it.
You can usually tell before you apply one. A filename or product page carrying a log profile name, S-Log3, V-Log, C-Log, N-Log, or a phrase like "to Rec.709", is a conversion. So is anything sold as a camera matching or normalizing LUT. The harder case is a creative pack for video that quietly expects log input, or has the conversion baked into the grade. Those look no different in the file listing, and the giveaway is the result: a wash across the whole frame rather than a look.
So favor looks described for stills or Rec.709, and treat intensity as a way to judge a LUT rather than a way to rescue one. Pulling a broken conversion back to 30 percent gives you 30 percent of a wrong answer, which reads as a slightly hazy photo instead of a badly hazy one. A LUT that only looks acceptable at 30 percent is the wrong LUT. Delete it and try another.
LUT versus Lightroom preset
People mix these up, so here is the difference:
- A LUT (
.cube) is pure color mapping. It is portable and works the same in many photo and video apps. - A preset (a Lightroom
.xmp) is a saved set of slider adjustments, which can include exposure, contrast, the tone curve, and even grain. It is tied to the way Lightroom's tools work.
A LUT is a finished answer: the same input color always gives the same output color, whatever the photo. That makes it consistent, and also rigid. A preset is a set of instructions, so it adapts, and it can carry sharpening, vignettes, and grain, none of which a color mapping can express.
Both give you a one-tap look. A LUT is more universal, a preset can carry more than just color. If you have Lightroom presets, see using them on iPhone.
LUTs in video and LUTs in stills
Most LUT material online is about video, so it is worth saying what carries across.
The math is identical. A LUT has no idea whether the pixels came from a video frame or a photograph, which is why film emulation packs sold to filmmakers work happily on photos.
What does not carry is everything around the file. Video applies a LUT in three places: on a monitor so log footage looks normal while you shoot, as an input transform in the edit, and as a creative grade at the end. Stills have neither of the first two. You apply a look and you export.
Cameras shoot log to protect dynamic range, which is why conversion LUTs exist. iPhone photos are not log, so a conversion LUT is never the fix for a flat-looking file. Apple ProRAW holds contrast back for headroom, but it is not a log profile, and it hands a LUT far more data than an 8-bit video frame.
RAWCraft applies LUTs to photos, not video. For video LUTs, Resolve and the video editors are the right tools.
Where LUTs come from
Make your own. DaVinci Resolve is free: build a grade you like and export it as a .cube. Photoshop does it too, with adjustment layers and a color lookup table export.
Buy a pack. Filmmakers and photographers sell .cube packs emulating film stocks or cinematic grades, usually a one-time purchase and yours to keep. Favor packs aimed at photos rather than log footage.
Download free ones. Plenty come from creators and photography blogs, with the same caution: many free LUTs are made for video and look harsh on a photo.
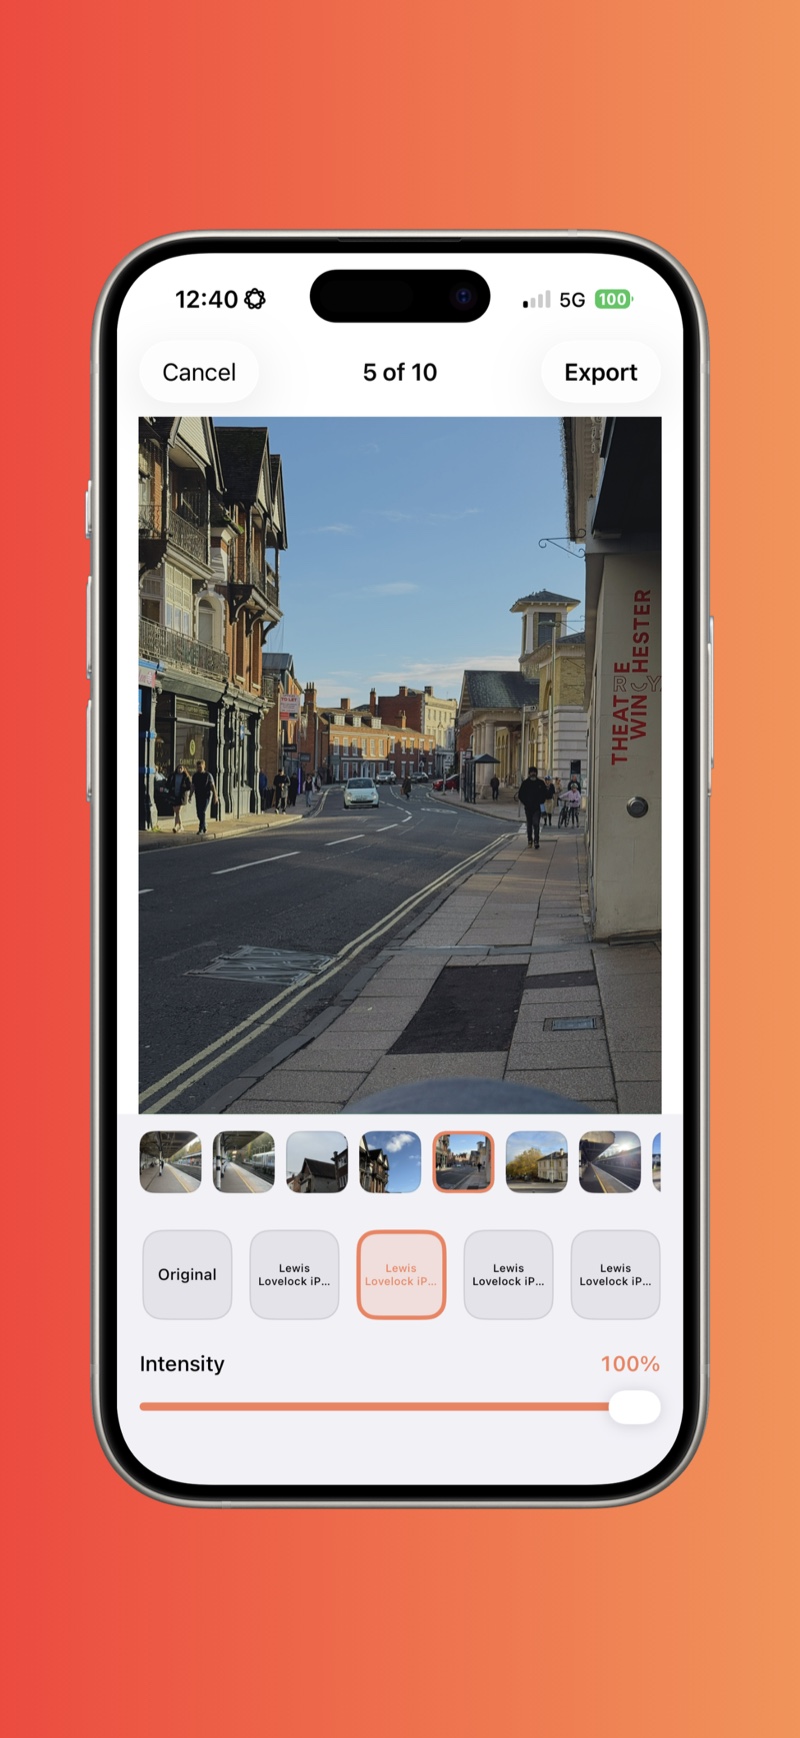
RAWCraft ships with 10 built-in looks and does not sell more; the library fills out with the files you bring, and color grading iPhone photos covers the looks worth aiming for.
How to use a LUT on your photos
You need an app that applies a .cube file to a photo. On iPhone, see how to apply a .cube LUT to a photo, or the LUT apps worth considering to compare first.
RAWCraft does exactly that, on full-quality ProRAW, and it reads Lightroom .xmp presets too, so your LUTs and presets live in one place. Each photo keeps its own look and intensity, batches run up to 30 photos, and you export as JPEG, HEIC, TIFF, or AVIF in sRGB or Display P3 without changing the original file.
Quick answers
What does LUT stand for? Look-Up Table. It is literally a table of colors in and colors out.
What is a .cube file? A plain-text 3D LUT, the de facto standard format. It stores a grid of color sample points that Resolve, Premiere, Photoshop, and phone apps can all read, which is what makes a look portable between apps.
What is the difference between a 1D and a 3D LUT? A 1D LUT holds three separate curves, one each for red, green, and blue, so it can only do technical work like gamma and contrast. A 3D LUT maps whole colors together, which is what creative grading needs, and it is what a .cube file almost always holds.
What is a LUT in video? The same file doing the same job on moving images, either converting log footage to a normal color space or applying a creative grade. Video also uses viewing LUTs on set, which stills do not need.
What is a LUT in photography? A one-file color recipe you apply to a photo to set its look, instead of moving a dozen sliders on every shot.
Is a LUT just a filter? Close in spirit. A filter is whatever the app decides it is and stays inside that app. A LUT is a standard file you own and can carry between apps.
Which LUT size should I use? 33 points unless the pack says otherwise. Bigger files do not make better looks.
Can I use video LUTs on photos? Creative ones, yes, often beautifully. Log conversion LUTs, no, for the reasons above.
RAWCraft is a one-time $14.99 with 10 free exports so you can try it on your own photos first.